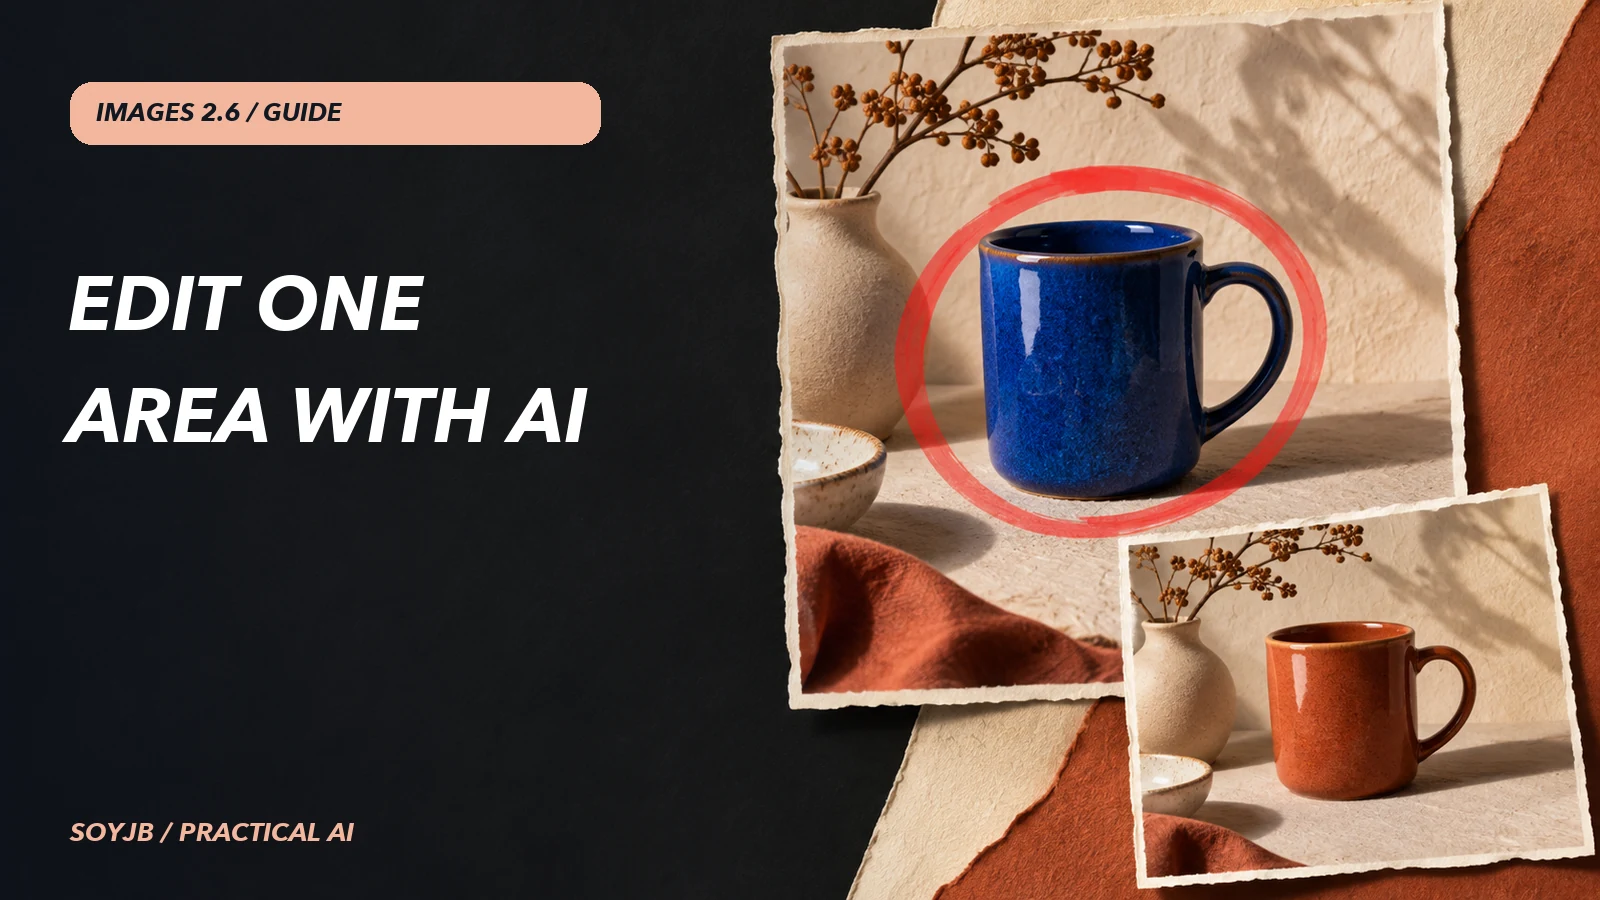
A product photo is good except for the color of one mug. Ask an image model to “change its color” and it might move a shadow, alter the background, or redraw a label. Images 2.6 adds a more targeted way to indicate where to work: send the original photo and a separate transparent PNG marking the region. This guide is about that specific task; for a broader Flare versus Sunburst decision, read our Images 2.6 workflow test.
What markup is—and what it cannot guarantee
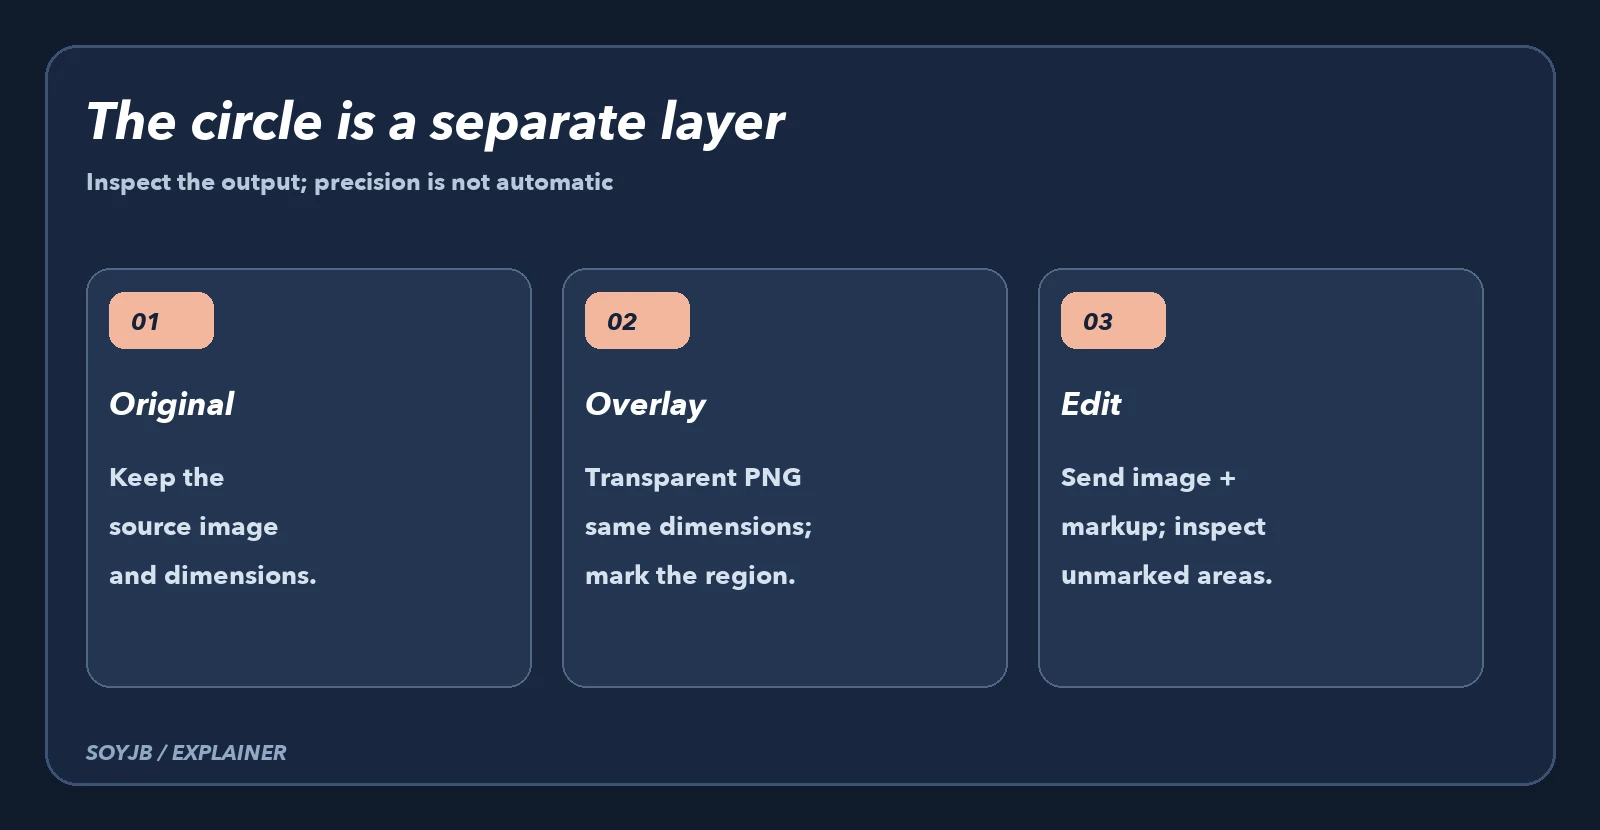
The official documentation says POST /v1/images/edits accepts a markup annotation layer with supported GPT Image 2.5 and 2.6 models. The layer must be a separate transparent PNG with the same width and height as the first input image after orientation. Draw a circle or other annotation; the prompt describes both the change and what must stay. Do not flatten the circle onto the photo. The output still needs review: markup guides the edit, but does not guarantee that every pixel outside it remains identical.
1. Build the layer without altering the source
Install pillow and start with your own photo named product.webp. Replace the box coordinates with your object's (x0, y0, x1, y1). This script only creates an overlay; it does not call the API.
from PIL import Image, ImageDraw

source = Image.open("product.webp")
width, height = source.size
overlay = Image.new("RGBA", (width, height), (0, 0, 0, 0))
draw = ImageDraw.Draw(overlay)
draw.ellipse((620, 180, 1050, 690), outline=(255, 40, 40, 255), width=18)
overlay.save("markup.png")
print("markup.png", overlay.size, overlay.getpixel((0, 0)))
Open markup.png against a transparency grid and check that the circle marks the intended object. The getpixel((0, 0)) result should have zero alpha if that corner is unmarked. If you resize the source afterward, regenerate the PNG. The guide caps the first image and annotation at 16,777,216 pixels each, and the markup file at 50 MB.
2. Send the image and annotation separately
Install the openai SDK, set OPENAI_API_KEY in your environment, and run the next block. Its file format follows the official guide; change the requested color and preservation details for your own image. Never paste your key into the script.
import base64
from pathlib import Path
from openai import OpenAI

client = OpenAI()
with open("product.webp", "rb") as photo, open("markup.png", "rb") as marks:
    result = client.images.edit(
        model="gpt-image-2.6-flare",
        image=("product.webp", photo, "image/webp"),
        markup=("markup.png", marks, "image/png"),
        quality="medium",
        complexity="low",
        prompt=(
            "Change only the mug inside the red circle to terracotta ceramic. "
            "Preserve its shape, the table, lighting, shadows and background. "
            "Remove the red circle from the final image."
        ),
    )
Path("edited.png").write_bytes(base64.b64decode(result.data[0].b64_json))
Start with complexity="low" for a narrow edit. Documentation separates complexity—how much the model plans—from rendering quality; medium here is the quality setting. For a scene with intricate relationships, compare medium or high complexity using the same prompt, measuring latency and unwanted changes. Final cost depends on input and output tokens; inspect usage and the official calculator before automating batches.
3. Review like an editor
Compare the source and result at full size. Inspect the circle boundary, background, shadows, label text, and brand details. If the product's shape changes, reject the output even if it looks attractive. Try a second variant with the same input and record how many corrections it takes to get a publishable asset. Do not combine markup with mask or prompt_rewriter in one request; the guide disallows it.
What we verified: we ran the transparent PNG creation locally and checked dimensions and alpha; both Python fragments were syntax checked. We did not make the paid OpenAI call or claim that edited.png already exists for your photo. That last step needs your file, key, billable request, and visual review.